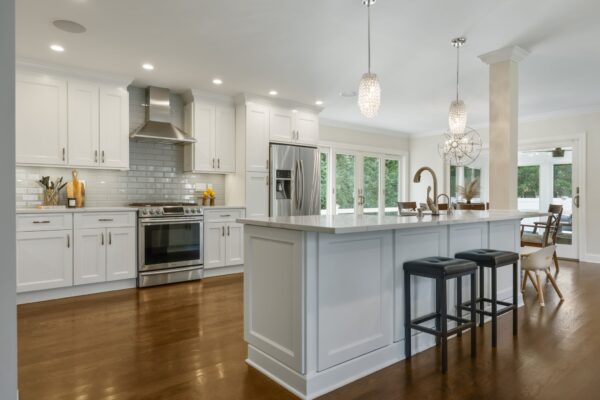
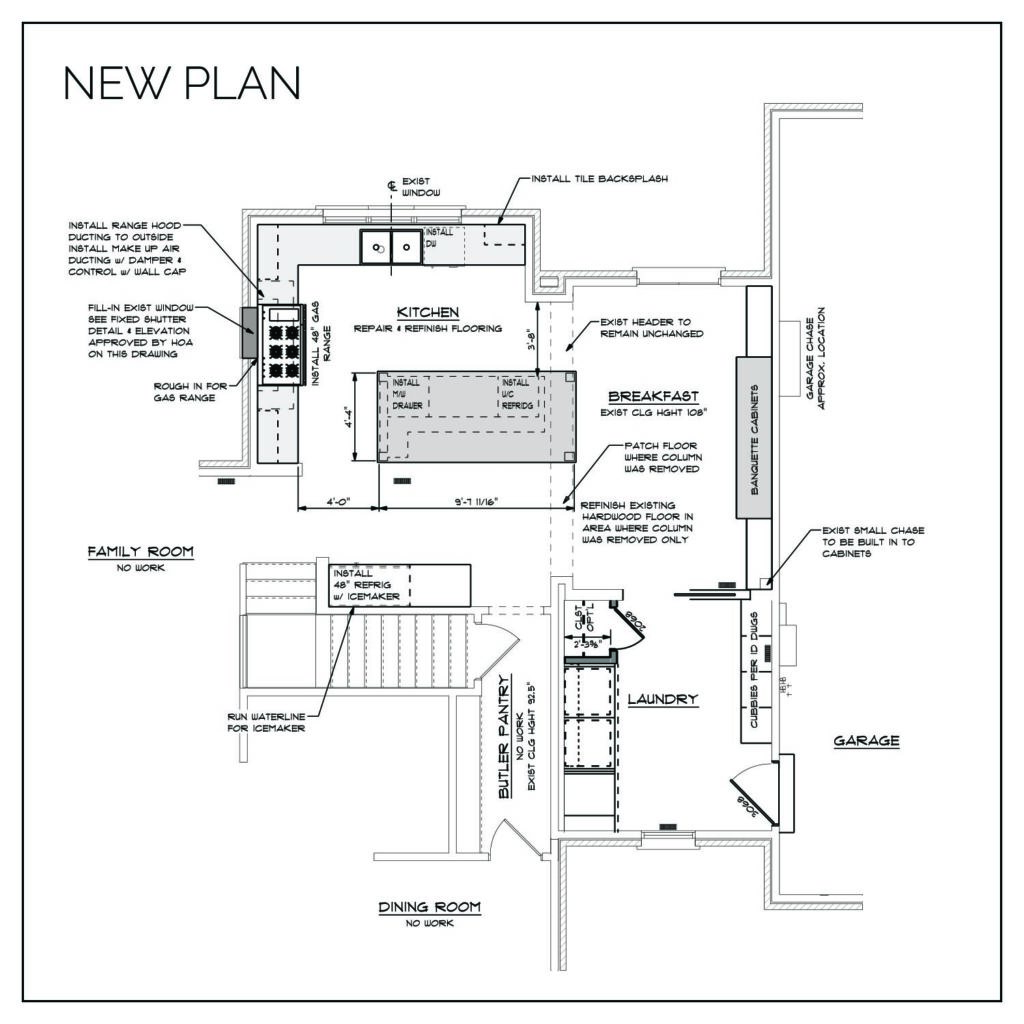
Tackling a whole home renovation is not for the faint of heart. This is a project that for many people will be a once-in-a-lifetime experience. This typically means that most homeowners are in a position of “you don’t know what you don’t know.” In other words, you will have a general idea that there are a lot of details involved, but won’t have any idea just how many until you start your project.
Fortunately, we’ve worked with many central Ohio homeowners on their whole home renovation projects, and know just how many details go into getting a whole home renovation right. We love planning and designing and building out our clients’ dream renovations, and over the years have developed a general whole home renovation checklist to help our clients understand the process better.
So, what are the general whole home remodeling steps you should follow? And what sorts of things should be on your home remodel checklist? Here’s our best tips to help plan and organize your renovation.
Whole Home Remodeling Steps
While this is by no means an exhaustive checklist, the following is the general order of a whole home remodel. Some of these steps might happen concurrently, but for the most part, the next step on the list cannot be completed until the previous step is completely done.
As you look to begin your whole home remodel, here’s the general order of operations:

1. Planning and Design
This step includes laying out your budget, working with your designer and builder to communicate your vision, securing permits for the build, and any other pre-planning steps. It’s essential to establish a clear financial plan to ensure that your remodel stays on track and within your means.
During this phase, collaboration with your designer is crucial to translate your ideas into actionable plans, ensuring that every detail aligns with your vision.
Additionally, securing the necessary permits early on will help prevent any delays in the construction process. Your builder will also assist in assessing the impact of the remodel on your daily life, advising if or when you may need to temporarily relocate to ensure your comfort and safety during the construction.
Proper preparation in this stage sets the foundation for a smooth and successful remodel, allowing the project to proceed with confidence.
2. Demolition
You can’t build in the new without tearing out the old! Demolition can run a full range of intensity, from simply moving out old furniture and tearing down a few walls to a full gut, which includes tearing out everything but key structural elements and your exterior walls.
This phase can be both exciting and nerve-wracking, as the old makes way for the new, revealing the raw canvas that will soon become your dream space. It’s the first major step in transforming your home, setting the stage for the construction to follow.
3. Rebuilding/Framing
 The extent of this step is largely due to your plan. You may need to rebuild extensively, or this might only involve framing in a few new walls.
This phase is where your home’s new structure begins to take shape, giving form to the layout changes you’ve envisioned. Whether it’s adding new rooms, expanding existing spaces, or simply reconfiguring the flow, the framing process is crucial in defining the physical boundaries and bringing your design to life.
4. Mechanicals/Plumbing/HVAC/Electrical
This step includes all the “behind the scenes” elements and typically runs concurrently with rebuilding and framing. Basically, anything that needs to go inside floors, walls, or ceilings will be completed in this step. It could include some minor adjustments to plumbing and electrical or could be a full rewiring or replumbing of your home.
This phase is critical for ensuring that your home functions efficiently and safely, with modern systems that meet current codes and your specific needs. Whether it’s updating electrical wiring, or reworking plumbing, these hidden components lay the groundwork for a comfortable and reliable living environment.
5. Walls
Once everything has been reframed and rebuilt, all mechanicals are where they need to be, and insulation is in place, drywall can go up. It will need to be taped and mudded, then the mud will need to dry and be sanded. Once the walls are smooth, they’ll be ready for primer, paint, or other finishes. At this stage, your space starts to feel more like a home again as the rooms take on their final shape.
Many contractors prefer to paint at this point, ensuring that any drips or overspray are avoided on the final finishes, leaving a clean and polished look as the project progresses to the finishing touches.
6. Flooring
Not all contractors prefer to do this step in the same order. Some may opt to wait until all painting is complete and dust has settled before installing the final flooring, to ensure a pristine finish. Your builder will discuss this step with you and determine the best timing to fit the overall progress of your whole home remodel.
Whether it’s laying down hardwood, tile, or carpet, this step is crucial in pulling the entire look of your home together, adding both comfort and style to your newly remodeled spaces.
